
Spaces
Setting up a function room
Create a space, set its layouts and sessions, and choose how guests pay.
This guide takes you through adding a function room, from its name and capacity to the price guests see. You can save at any step and come back later.
Before you start, open Spaces. If you want guests to pay a deposit by card, connect card payments first.
Add the space
Name it and set the size
Go to Spaces and choose New space. Give it the name guests will recognise, such as “The Function Room”, and set the most people it can hold.
The Spaces list shows each room, whether online booking is on, and the price guests are offered.
Choose the layouts
Pick the layouts you offer, such as theatre, boardroom or banquet. Each layout has its own capacity, so a guest booking a banquet sees the right numbers.
Decide when it can be booked
Set sessions or hourly booking
Offer fixed sessions (morning, afternoon, evening), booking by the hour, or both. Add setting-up and clearing time so back-to-back bookings do not clash. The detail is in Sessions, prices and deposits.
Set the price
Choose how you charge
Charge room hire, a minimum spend, a price per person, or a mix. Ask for a deposit or full payment when the guest books, or take payment on the day.
Add extras
Add things guests can order with the room: teas and coffees, a buffet, a screen. Price each one per person or per booking. See Adding extras.
Check and publish
Review and save
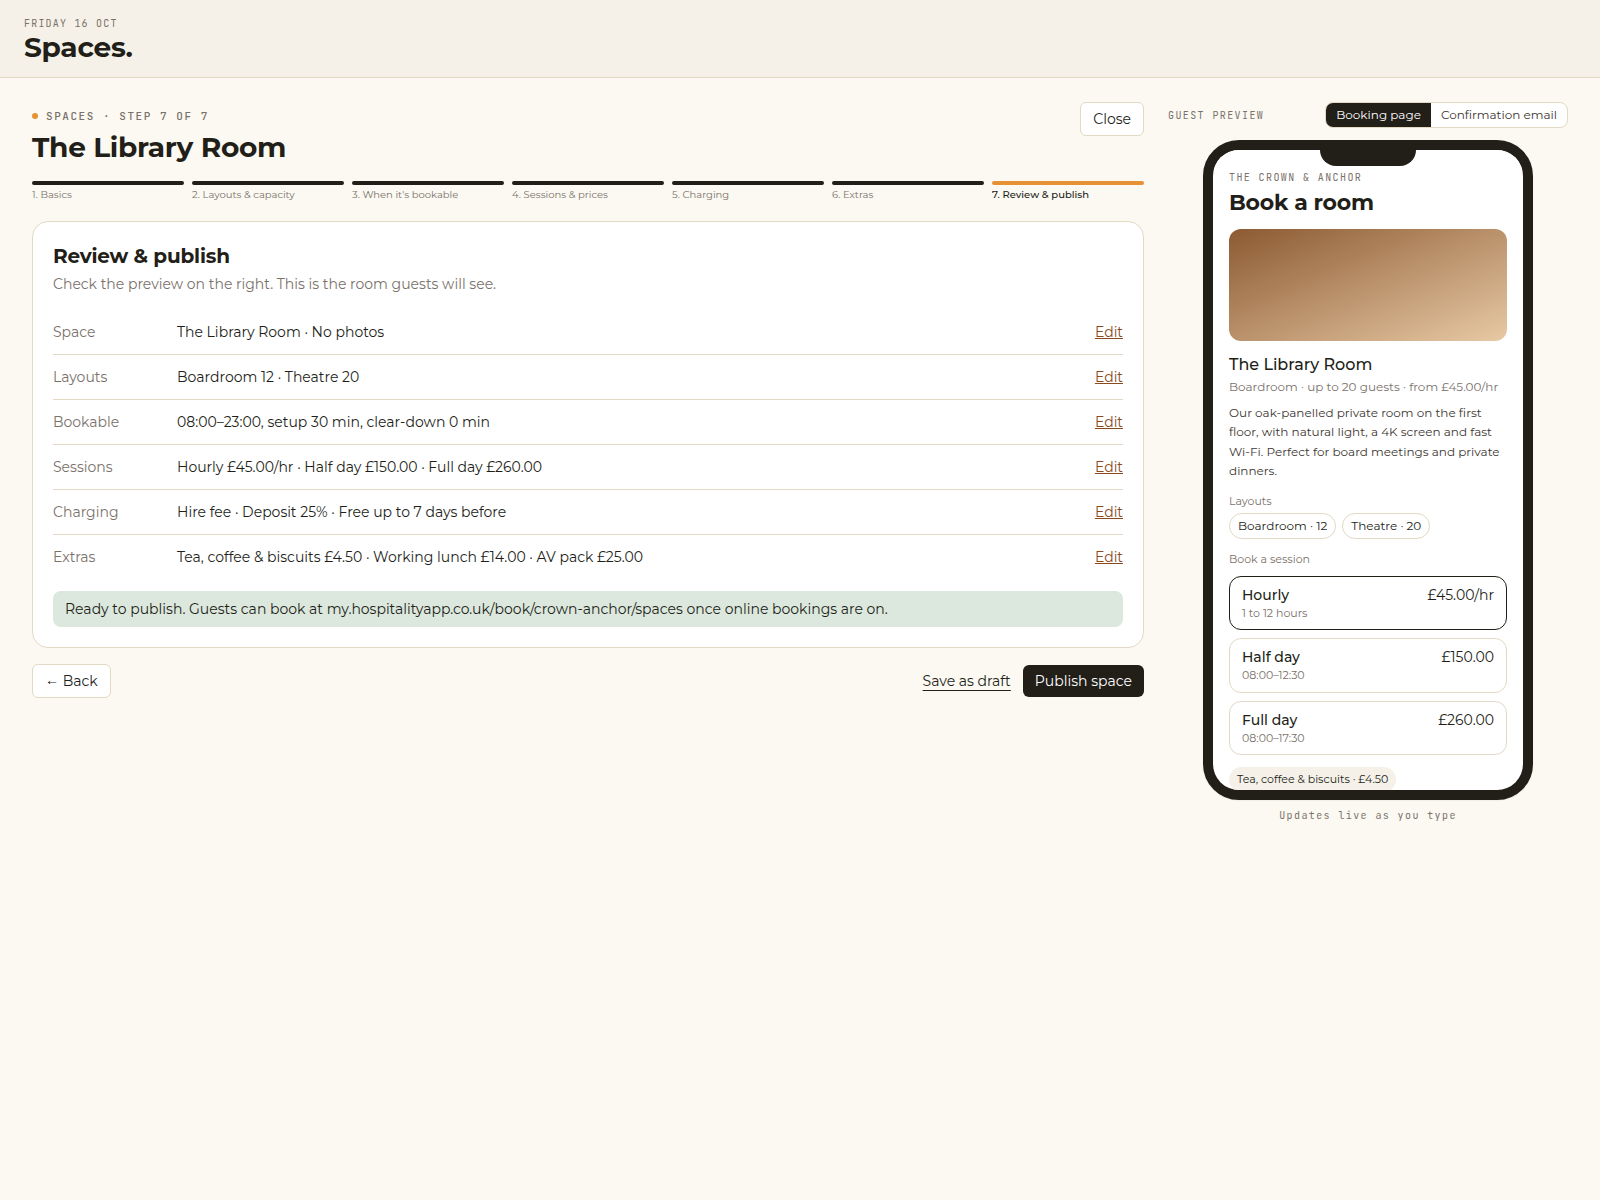
Check the summary, then save. The space appears in your Spaces list straight away. If online booking is on, guests can book it from your booking page.
Tip: read the confirmation before you save, so you know what the guest will receive.
What next?
- Sessions, prices and deposits, for more detail on pricing.
- Turning on online booking, to take bookings from your website.
- Blocking dates, to close the room for a private event.
? This article also opens from the Spaces screens in the app.